How-To Configure Windows 7 to use XP Alt-Tab Menu {Screencast}
How-To Configure Windows 7 to use XP Alt-Tab Menu
Method 1 – Through A Quick Keyboard Combination
Step 1
Press and Hold Right Alt on your keyboard
Step 2
While holding the Right Tab key, quickly press Left Alt.
Step 3
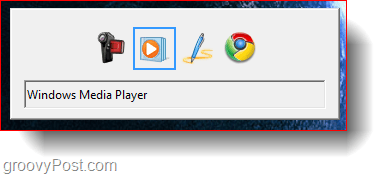
Then press Tab. You will get the old-school classic Alt-Tab windows that you see in Windows XP.
Method 2 – Permanently Set The Classic Alt+Tab Through A Registry Modification
Step 1
Open the Start Menu and type in regedit. Then hit Enter to confirm.
Step 2
Navigate to HKEY_CURRENT_USER\Software\Microsoft\Windows\CurrentVersion\Explorer and create a new 32-Bit DWORD Value and call it AltTabSettings.
Step 3
Then open the file and give it a value of 1.
Now close regedit and try Alt+Tab again. The classic method should be set as your default one. If you would ever want to restore the Windows 7 style of Alt+Tabbing, simply delete the DWORD file from the registry and reboot your computer so that the changes can take effect. Comment Name * Email *
Δ Save my name and email and send me emails as new comments are made to this post.


![]()
