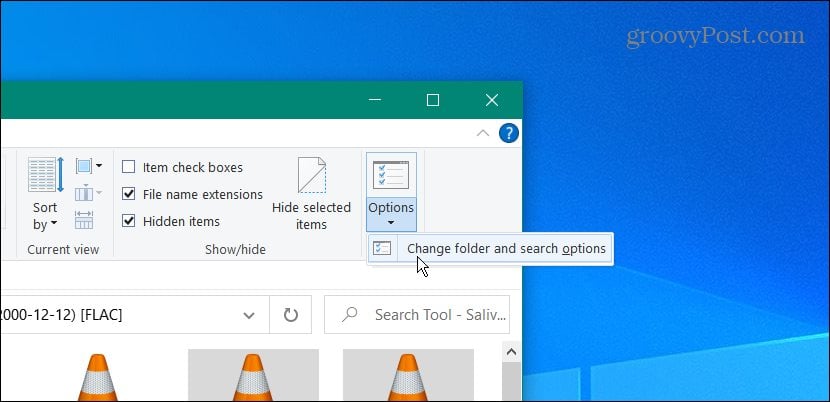
Note: Of course, since it’s Windows, there are several ways to display hidden files and folders. But the main point of this article is to find the “Options” menu on File Explorer. That will give you the correct menus that you need to customize File Explorer.
Find Options on Windows 11 File Explorer
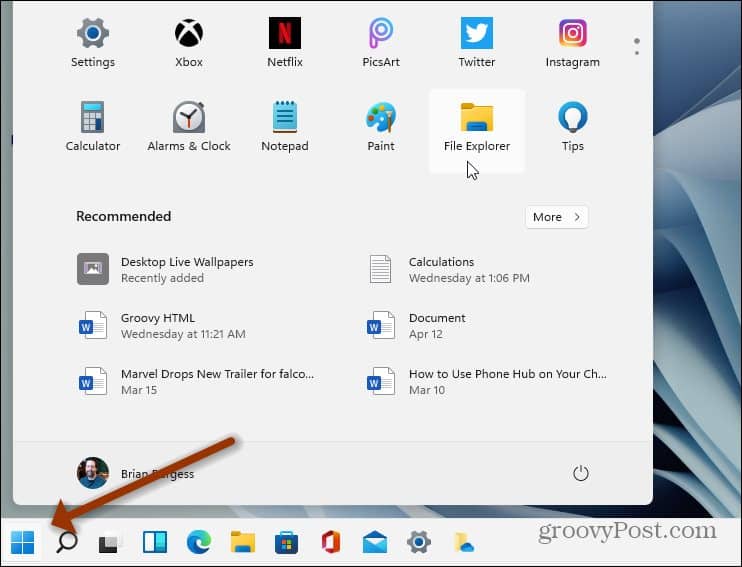
To get started, launch File Explorer from the taskbar or the Start menu. To get it from the Start menu, click the Start button and then the File Explorer icon.
Or, click the File Explorer button (folder icon) from the taskbar.
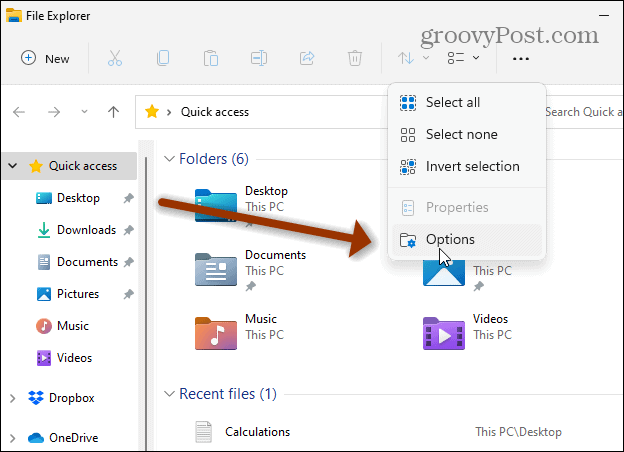
Once File Explorer opens, click on the See More button (three dots) on the right side of the toolbar.
Next, from the menu, click on Options at the bottom.
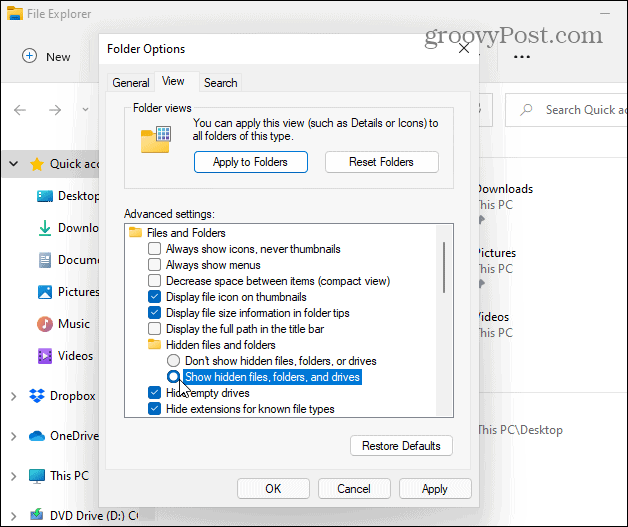
Now, you will see the menu settings you are used to that allows you to customize the File Explorer experience. Since we want to show hidden files, click the View tab at the top. Then scroll down and click the “Show hidden files, folders, and drives” and click OK.
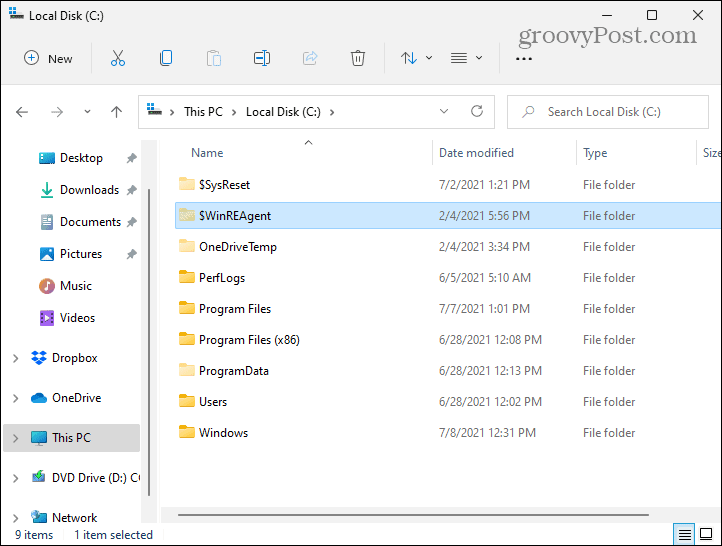
That’s all there is to it. Now, if you go into your local (C:) drive, for example, you will see the hidden folders that don’t display by default. Hidden files and folders can come in handy if you are customizing or troubleshooting your PC. Hidden items are more transparent than the other items that display normally.
It’s also worth noting that Windows doesn’t display many files and folders for a reason. You don’t want a beginner going in and deleting important system or app content. That can make your system unstable. Note that in this article, my Start menu is on the left corner of the screen. You can do that on your Windows 11 PC, too. Check out our article on moving the Start menu to the left side of the screen. Comment Name * Email *
Δ Save my name and email and send me emails as new comments are made to this post.
![]()

![]()

