The cool thing is with a couple of Windows PowerShell commands; you can make them sync up. PowerShell may seem daunting for some, but we’ll show you the code to enter for this task.
PowerShell Commands
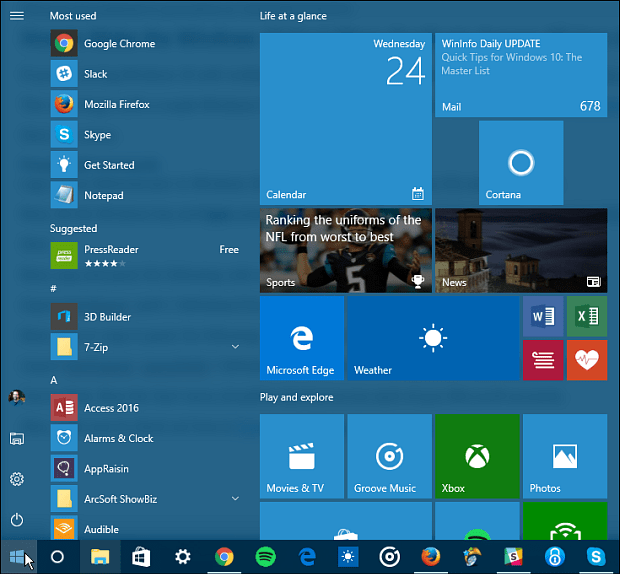
Log in as Administrator to Windows 10 and organize your Start menu the way you want it. Now, hit the Windows key and type: powershell to find it (it should be at the top of the results list). Right-click on it and select Run as Administrator.
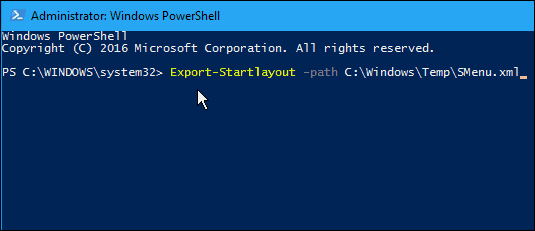
Now copy and paste the following code in and hit Enter: Export-Startlayout -path C:\Windows\Temp\SMenu.xml
Next, type or copy and paste the following code into the next prompt and hit Enter:
Import-StartLayout -LayoutPath C:\Windows\Temp\SMenu.xml -MountPath $env:SystemDrive
You’re done. Close out of PowerShell, and now the Start menu should be identical across each of your Microsoft accounts.
Also, make sure to check out how to PowerShell if Microsoft Edge won’t open.
Comment
Name *
Email *
Δ Save my name and email and send me emails as new comments are made to this post.


![]()
